How to: Connect to a GIS server with ArcMap
Some of the datasets on Atlas are offered as web services. The GOHSEP 2010 imagery, for example, has been cached as a statewide basemap and published as a web service. This web service can be opened in GIS software like ArcMap as a convenient alternative to downloading all of the image files individually and combining them yourself.
Connect to a GIS server
Creating a connection to an ArcGIS Server in ArcMap or ArcCatalog will create a connection file (.sde) in your %APPDATA%\ESRI\Desktop10.4\ArcCatalog folder if you are using ArcGIS Desktop 10.4. The connection file can store the username and password and can be moved to another computer or user profile.
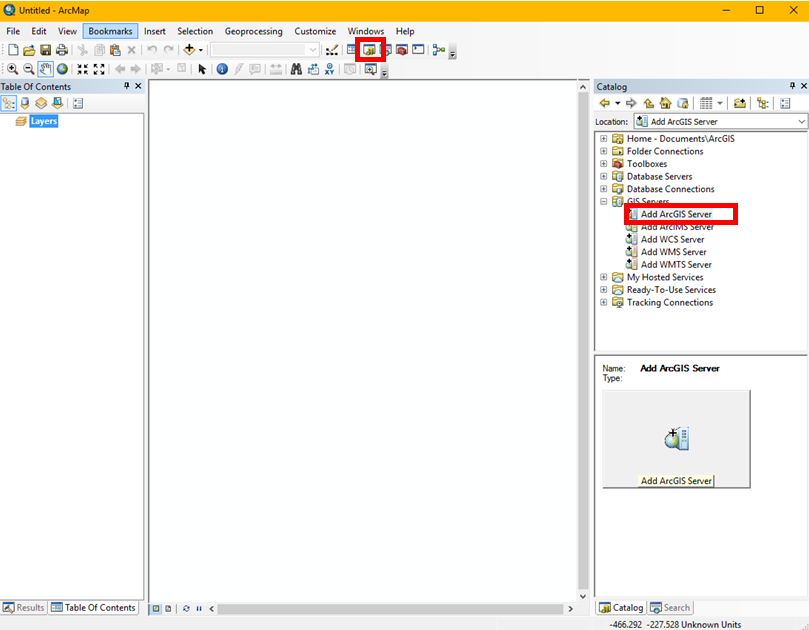
Step 1. In ArcMap, open the Catalog pane/window and under GIS Servers double-click Add ArcGIS Server.
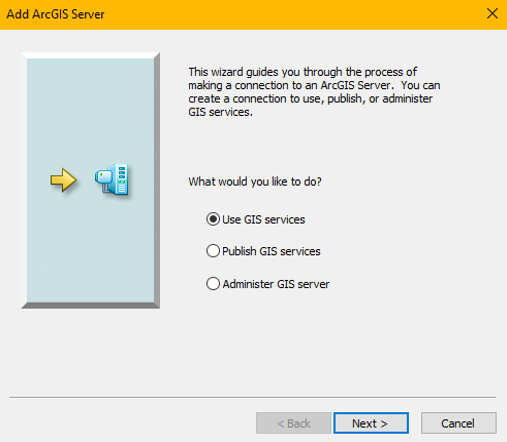
Step 2. Select “Use GIS services” for read-only access to the server’s published web services.
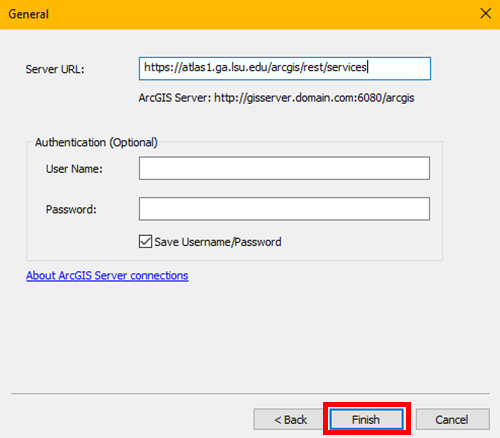
Step 3. For the server URL, enter https://atlas1.ga.lsu.edu/arcgis/rest/services and leave the user name and password fields blank.
Step 4. After successfully connecting to the server, a new connection will appear in the Catalog pane. Clicking or expanding the connection will allow you to browse the publicly available services.
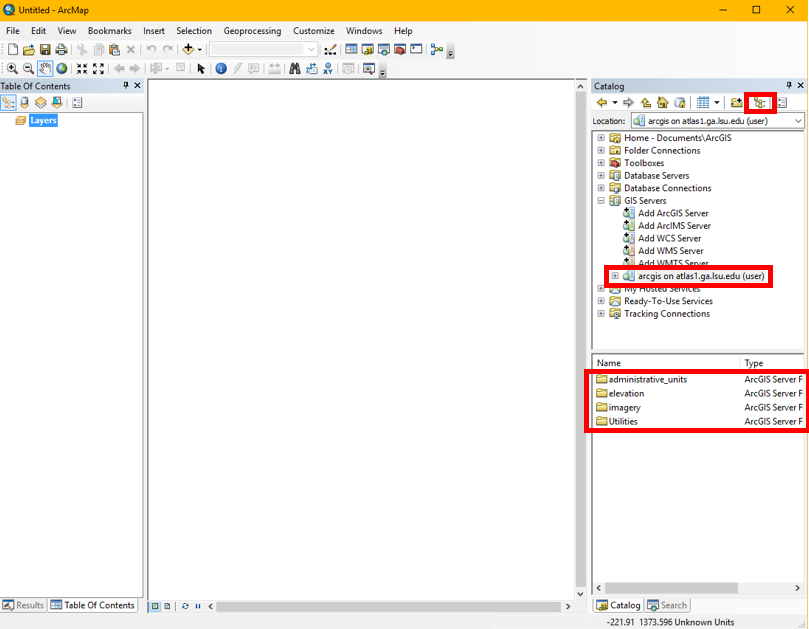
Add a layer to the map
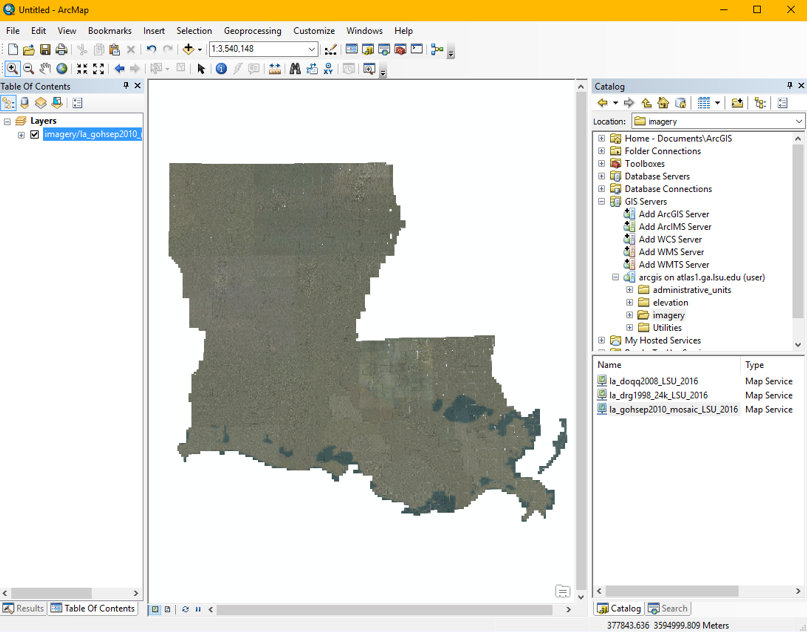
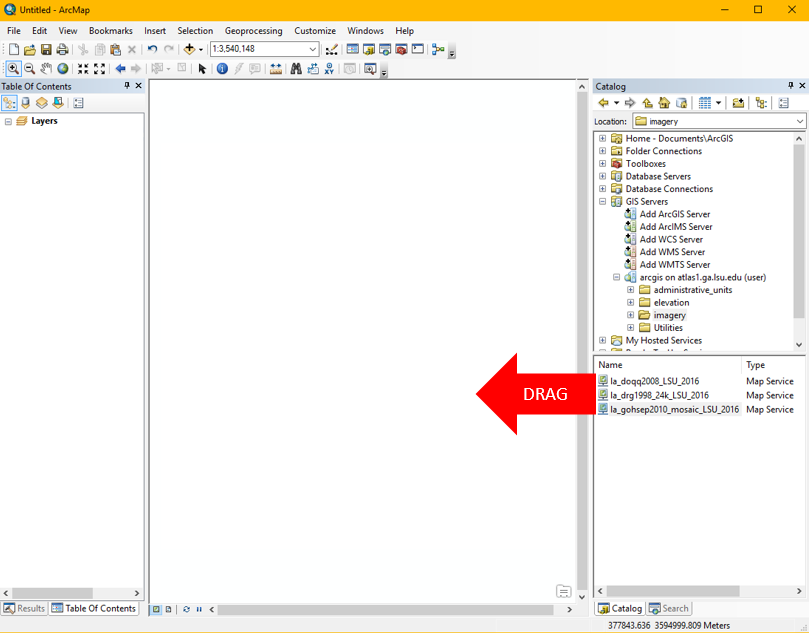
Step 5. To add a layer from the server to the map, just drag and drop it from the Catalog pane.
Step 6. The service appears in the Table of Contents and the layers are drawn in the map viewer.